Beam Grasshopper Styles Tutorial
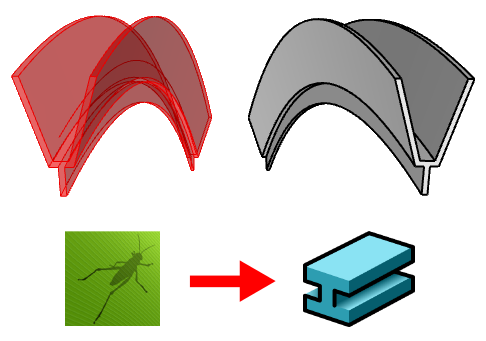
In this tutorial a parametric beam style from a Grasshopper definition will be created.
The 3 main steps to follow are the same as in any other Grasshopper style:
- Grasshopper definition setup
- Create the VisualARQ beam style
- Insert and edit a VisualARQ beam created from a Grasshopper style
1. Grasshopper definition setup
You can download the complete Grasshopper file clicking here.
Type Grasshopper in the Rhino Command line to launch Grasshopper.
-
Input parameters components:
The input parameters are the values that will define the features of the resulting beam style. In this case the Grasshopper definition requires at least one Curve input parameter that will define the beam path curve. The input parameters are:
- Curve parameter: used for the path curve of the beam.
- Curve parameter: used for the section profile of the beam.
- Numeric value (floating point): used to specify the rotation of the beam profile.
-
Output components:
The output components are those that will be read by VisualARQ as the different parts of an object style.
For this case, since there is only one piece of geometry, a single Geometry component is used.
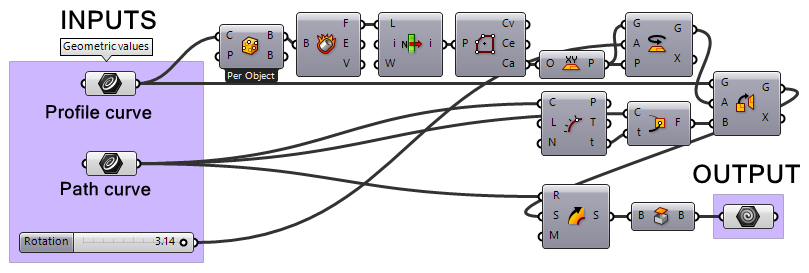
The Grasshopper definition that generates the beam.
2. Create the VisualARQ beam style
In this case the Grasshopper style will be created and managed from the Beam Styles Properties dialog.
2.1: Create the new style
Assuming the Grasshopper definition (.gh file) is already done, open the beam styles dialog: _vaBeamStyles.
Click on the New… button and select the Grasshopper style option.
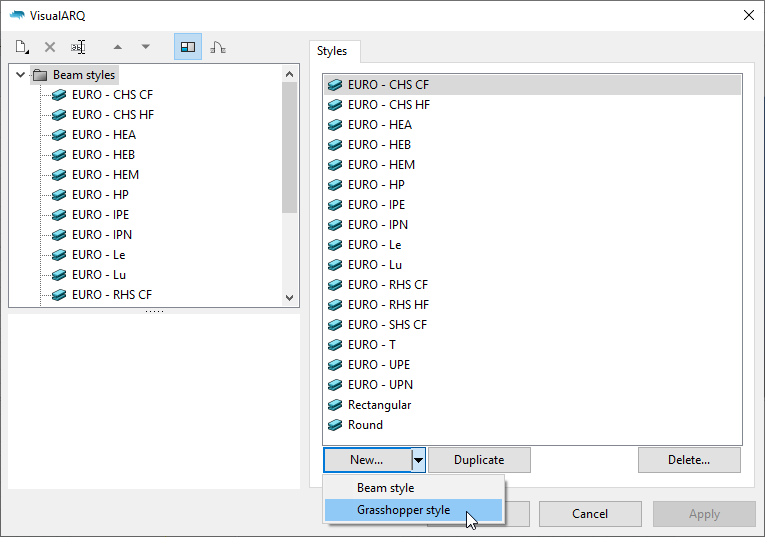
The Grasshopper Style wizard will appear. This wizard will guide you through the steps to define the beam Grasshopper style parameters. The left side of the wizard will show a preview of the object style generated as soon as the required information is completed.
2.2: Open the Grasshopper definition
Click on the Browse button to select the .gh file created before.
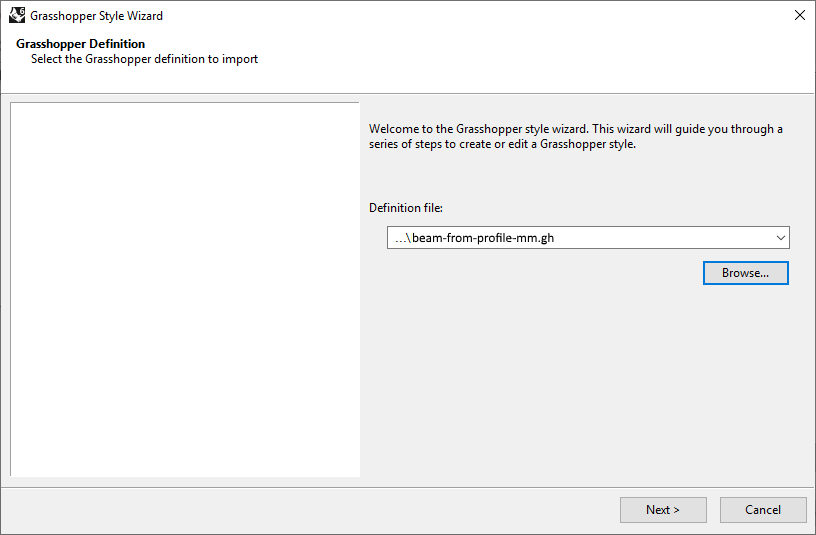
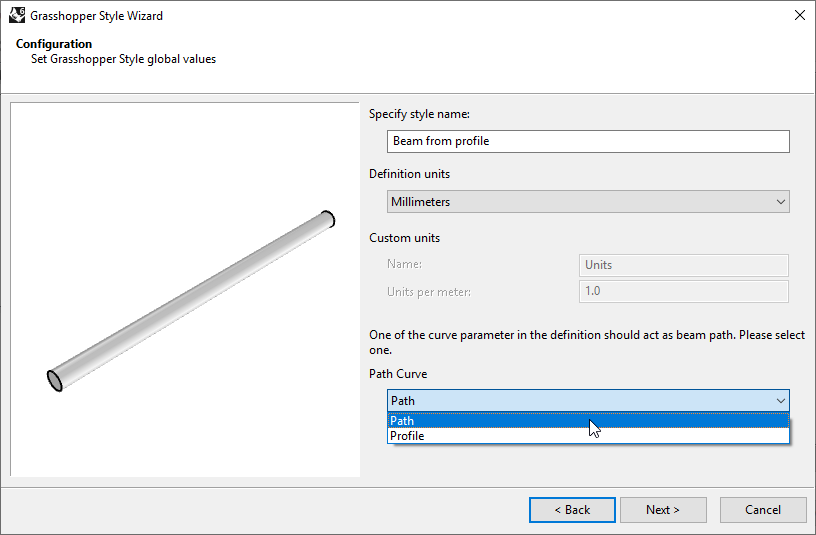
2.3: Configuration
Set the Beam Grasshopper style global values:
- Style name: set the desired name.
- Definition units: in this case it has been prepared in millimeters.
- Path Curve: an input curve parameter component representing the path should be selected.
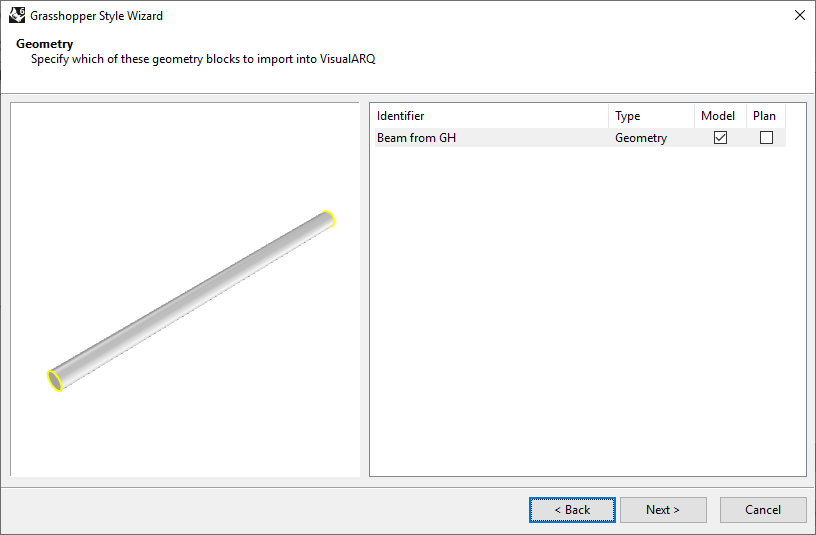
2.4: Geometry
Specify which of the output geometry blocks to import into VisualARQ. The identifiers of these Geometry blocks are taken from the names of the output components in the Grasshopper definition and can be modified only once the style has been created.
Each component can be assigned to a different representation:
- Model: the object representation in 3D.
- Plan: the object representation in plan view. It is visible when seeing the object in opt viewports with the Cut Plane enabled of the level where the object is placed. The object must intersect with the level cut plane height, otherwise you will need to change the Plan visibility setting of this object in the Properties panel.
In this case there is only one geometry output which is the Model representation. That means that the Plan representation will be taken from the horizontal section of the 3D element according to the level’s cut plane height.
2.5: Parameters
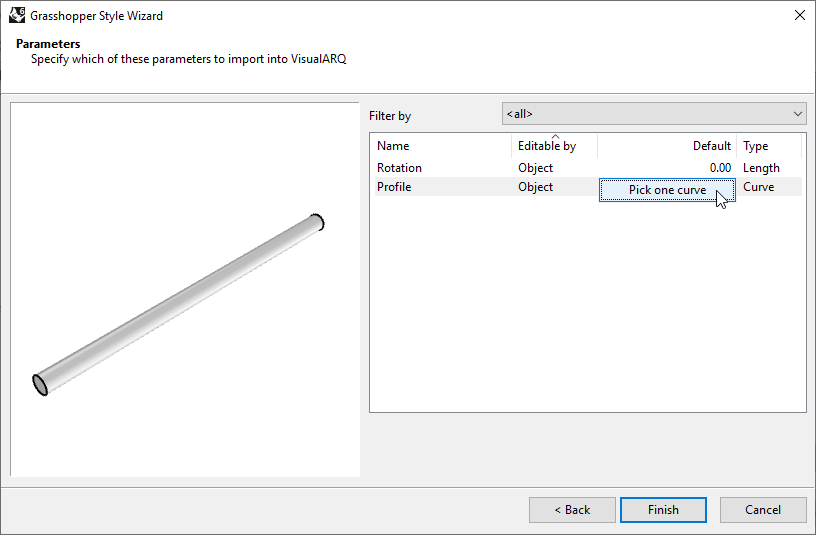
This step shows the settings available for the list of input parameters that define the beam style. In this case the possibility to „Filter by“ is not relevant since in the Grasshopper definition there was just one single group for all the input parameters. The settings are:
Name: it is the identifier of the parameter and can be modified if desired in this step.
Editable by:
- Definition: the parameter will be hidden and it will keep the value from the Grasshopper definition.
- Style: the parameter can be edited only by style and the changes will apply to all elements in the model with that style.
- Object: allows to set a different value for that parameter for each beam in the model that has the same style.
You can change the Editable by value for several parameters by selecting them while holding the Ctrl key.
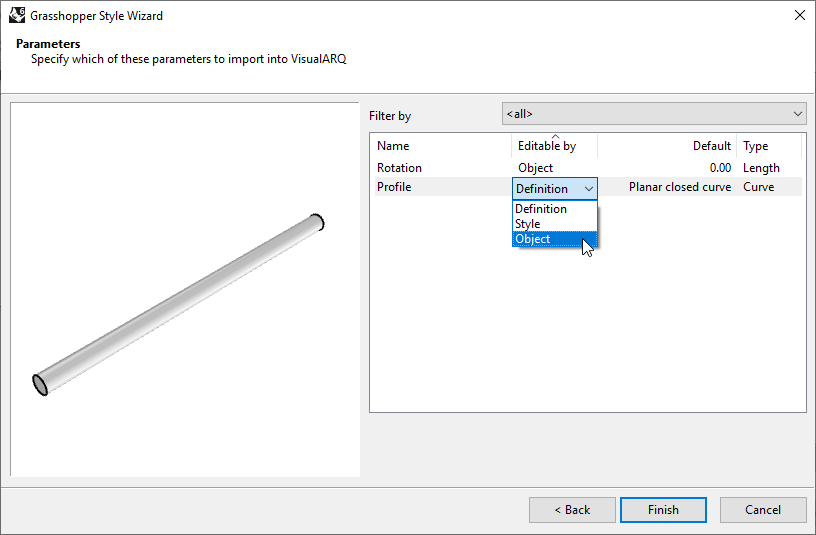
Default (value): shows the default value for the input parameters which are the ones specified in the Grasshopper definition and lets you set different default values. In this case there is one input curve parameter (the beam profile) with an internalized curve. You can change it by clicking on the button Pick one curve. In case there was no internalized curve it would appear in red, indicating an unreferenced geometry and you would be requested to pick a curve to continue.
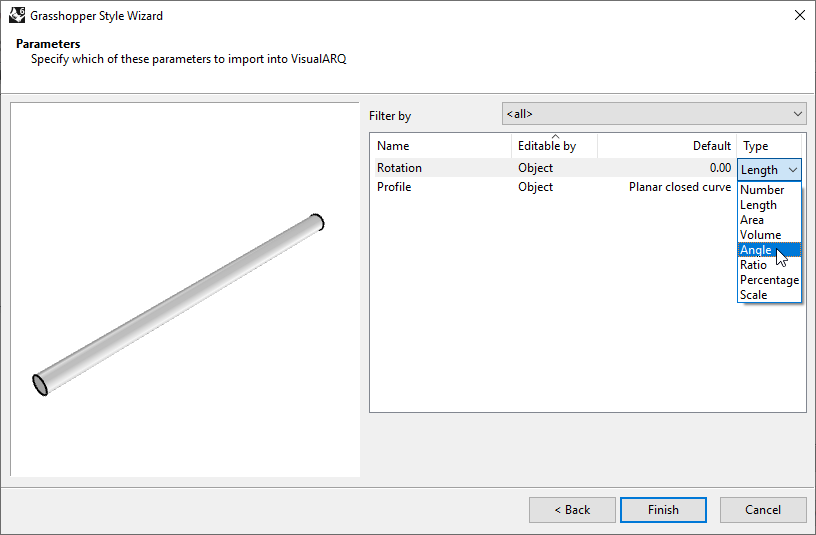
Type: shows the different types of values available for each kind of parameter. In this case we have a curve parameter which is automatically set and an angle one which should be set to Angle so it converts the radians from the Grasshopper definition to degrees. To successfully be able to chose the Angle option and get the correct degrees value, in the Grasshopper definition a floating point number (a decimal) input parameter specifying the angle in radians should have been set.
3. Insert and edit a VisualARQ beam created from the Grasshopper Beam Style
3.1 Edit the beam style
Once the Grasshopper style wizard is completed, the new style will appear in the beam styles list. To edit the style again, right-click on the style name to open the context menu and select Edit. This operation will open the Grasshopper style wizard again. The parameters will be available under the „Parameters“ tab and will appear grouped as in the Grasshopper definition. In case the name of the group matches an existing category they will appear in the same category.
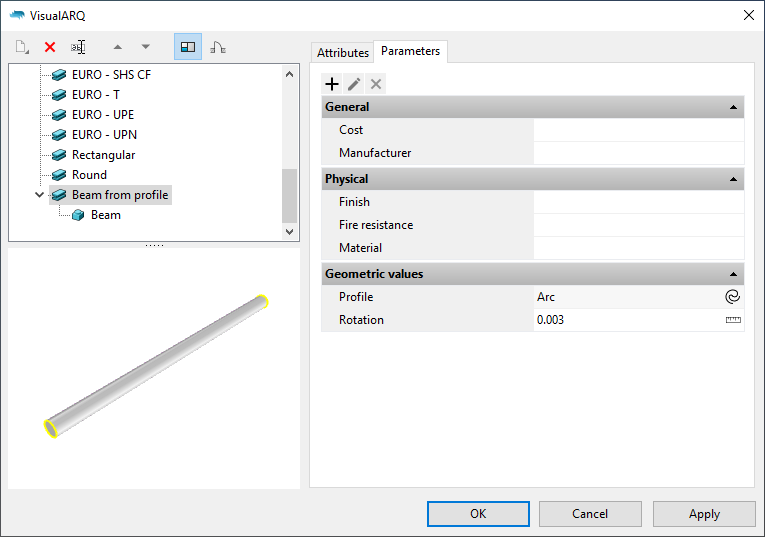
3.2 Insert the Grasshopper style
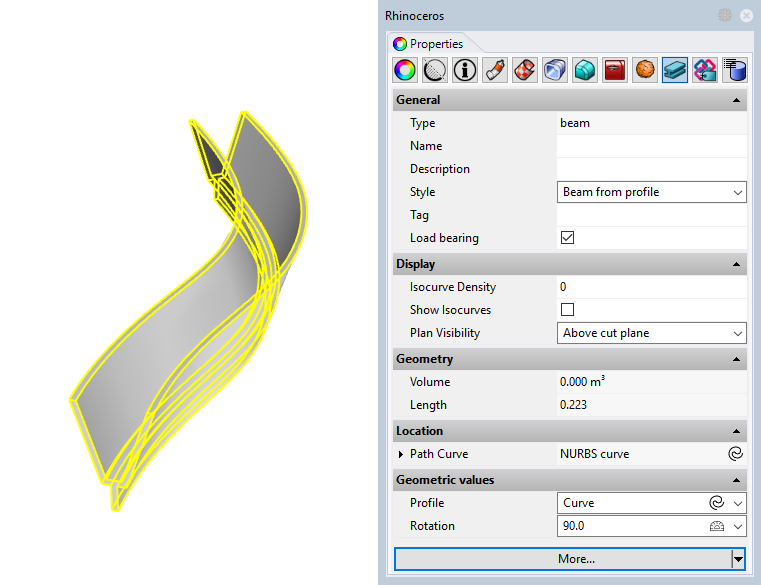
Once the beam style is created, you will be able to insert an instance in the document and change the values of its parameters from the Properties panel VisualARQ section, as it works with any other VisualARQ object. Only those input parameters that were set as „Editable by Object“ will appear.
