When you start working on a new document, you can do it from a Rhino template, or from a VisualARQ template.
Rhino templates only include by default one “standard” object style for each VisualARQ object type, and no buildings and levels are created.
On the other side, VisualARQ templates include by default the full object styles library, and a building and a level are created. All object types are created in specific layers, and all object styles have some specific attributes assigned.
In each document you can modify the existing object styles, delete them or create new ones. And you can also decide in which layer each object type will be created by default (Tools > Options > Rhino Options > Document Properties > VisualARQ > Layers).
But…
- What if you wish to start a new project where all objects were created in a specific layer?
- What if you wish to start a new project that included your most used object styles library?
- What if you wish that all these object styles had your desired attributes?
- What if you wish to start a new project that already had a building and 4 levels created by default?
Would you have to do these changes every time you start a new project? Of course not.
The solution is simple:
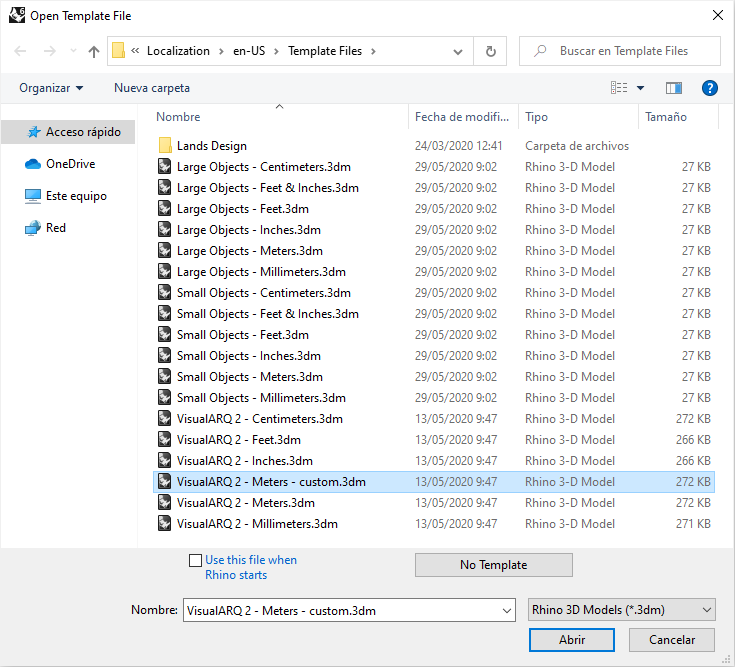
Get your custom template file ready and save it as a Template (Menu > File > Save as Template…). You can check the folder where the template files are stored, in Rhino Options: Tools > Options > Rhino Options > Files. Next time you open a new document, your custom template will appear in the list.
Note
Remember that you can import new VisualARQ object styles into any document using the _vaStylesImport command.