3.2 First Floor Walls
This chapter is divided into two parts. One for the exterior walls and an other for the interior walls of the first floor.Exterior walls

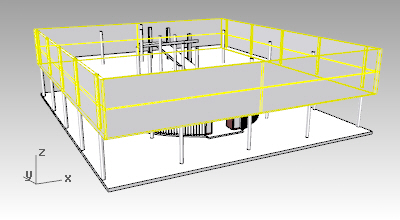
- Run the _vaWall command to create the exterior walls of the house. Pick the Exterior 200mm style created before, and set the alignment to Left. Use the slab corners to snap on them as you draw the walls.
- Select the 4 walls created and _move
 them down (0.3m), until they are aligned with the bottom slab surface. Use the Gumball (clicking on the Z axis arrow and typing the value to move the walls) as another way to move the walls downwards. This operation can be done also by changing the 4 walls elevation value, from the object properties dialog
  .
. - We can see that the slab side faces and the walls exterior surfaces are overlapping. You can avoid this by separating the walls from the slab in two ways:
-
Turn the slab control points on
 , and _move
  them in order that the slab boundary is aligned with the interior wall faces.
 - Change the Alignment Offset property of the 4 walls to 0,01m, in the Wall Properties panel.

-
Turn the slab control points on
- Solving the intersection of the slab and the walls. there are two different ways to achieve this:
- Extending the walls to the slab:
- Run the vaWallExtend command. Select the 4 walls and click ENTER.
- From the command line, select the option Bottom as the Extension direction.
- Select the slab as the boundary object where to extend the walls.
- Changing the height of the walls by layer: (this option is not shown in the video)
- Select the 4 exterior walls and from the Object Properties panel
 expand the Wall layers bottom offset, and change the second wall layer to 0,3m.
- Select the 4 exterior walls and from the Object Properties panel
- Extending the walls to the slab:
Interior walls

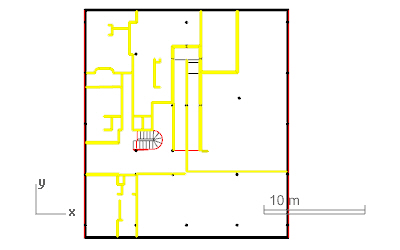
- Run the vaWall command
 to create the internal walls. You can change the wall style, alignment, and the insertion options for each wall part without closing the command.
 - Run the Wall: From curves or the Wall: Set Path command
 for the curved walls. You need to create the curve first.
 - Finally change the height of the interior walls to 3.1m and the height of the 4 exterior walls to 3.4m.
Ramp fence walls

- Isolate
 the objects implied around the wall of the first floor ramp.
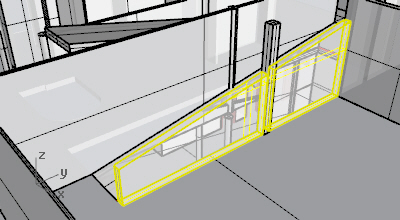
 - Split the wall which is meant to be the ramp fence, with the _vaWallSplit command
 . Pick as the split point the corner of the intersection with the other wall.
 - Now work from the Right Viewport, in Wireframe display mode. Create the two closed curves
 that will be used to generate the solids to subtract from the ramp fence wall.
 - _Extrude
 the profile curves. Discard the curves afterwards.
 - Run the _vaWallSubtractSolids command
 to subtract the solids from the walls. (First, select the wall where you wish to subtract the solids, and then select the solid to subtract).
Back to Index menu
