3.6 First floor windows
The process to insert new windows in the model is the same as the one explained for the ground floor windows.Create new window styles
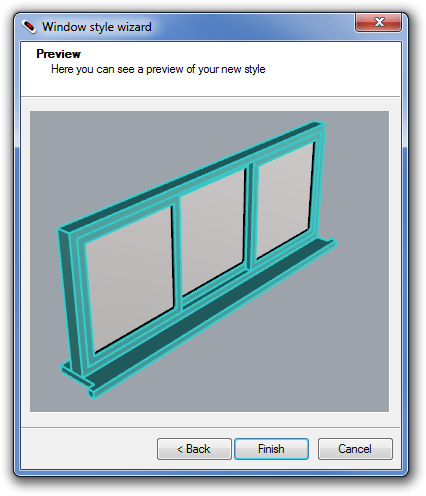
For the windows of the exterior facades, you can create a 3 new window styles: the VS F1 1, 2 and 3.
- Open the Window styles dialog: _vaWindowStyles
- Click on the New Style… button and follow the steps of the window style wizard to create the first new window style. Create a sliding window with 3 leaves.
- Once the parameters of the new style are defined, the new window style appears at the end of the styles list at the left of the dialog. Select it and expand it from the small triangle to see and edit its components.
- To create a new styles select the previous style created, from the right list of the dialog, and click on the Duplicate button.
- The new copy of the window style is added to the list. Rename it and edit its parameters in order you get a window style with 2 leaves.
- Repeat the same process to create a new window style with just one leaf. Take into account that when you delete a leaf from a window, you have to adjust the width percentage value of the remaining leaves.
Insert windows
Insert the windows of the first floor in the model with the _vaWindow commandRamp windows
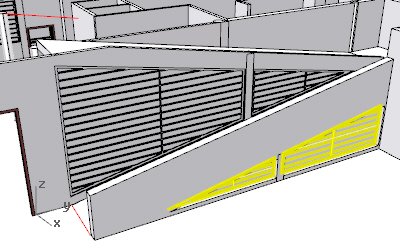
To create the 4 triangular windows situated to both sides of the ramp, we need to follow two steps:
- Create 4 custom profiles with the _vaProfileFromCurve
 command.
- From the Right Viewport, create 4 closed curves
 following the 4 window profiles. (Isolate
  the implied objects and put the viewport in Wireframe display mode for a better workflow)
 - Run the _vaProfileFromCurve
 command. Pick each one of the curves and give it a name. i.e: Ramp1, Ramp2, Ramp3 and Ramp4 (these names can’t have empty spaces).
- From the Right Viewport, create 4 closed curves
- Create 4 new window styles assigning to each one the proper custom profile created.
- Open the window styles dialog box (_vaWindowStyles).
- Create 4 new window styles with the window Style wizard.
- Assign to each window style, one of the custom profiles created. You can do that during the steps of the wizard, or later on, from the Geometry Tab, after selecting the window style you wish to modify.
- After the new window styles are created, insert them in the model with the _vaWindow command
 . Select the proper opening side and elevation.
Back to Index menu
