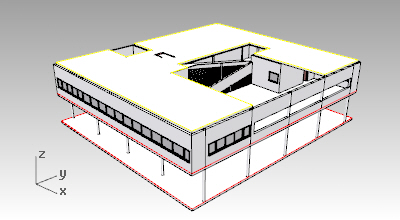
Terrace floor
Here starts the third part of the tutorial, where the project in 3D is finally finished. Many of the commands are already explained in the Ground floor and First floor parts, so it will go in detail only with the new features. The first thing to do is to set the Terrace floor in the Level manager dialog, as the current level from which you are going to work now.Slab
Create the Slab:

- Create the terrace floor slab contour with a polyline
 . Remember that this curve must be flat and close. Make sure the “Project” snap point is on, to avoid creating the curve in a different CPlane rather than the one of the Terrace floor.
 - Select the polyline just created and run the _vaSlab command
 . Make it 0.2m thick.
Slab: Subtract Contour

- Move the boundary curve used for the stair opening on the slab of the first floor, until you visualize it over the model.
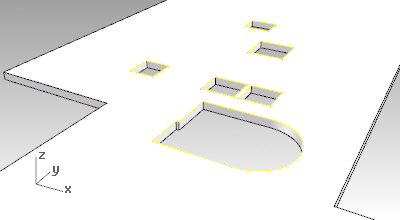
- Run the _vaSlabSubtract command
 to subtract this boundary curve from the terrace floor slab.
 - Create the rest of the slab openings: make sure the Project osnap point is on and the CPlane
 is situated on the Terrace floor .
- Turn the layer where the Terrace floor bitmap is on (P.F.T.)
- Draw the rectangles corresponding to the slab openings.
- Turn the P.F.T. layer off.
- Turn on the First floor level, in the Level manager dialog while working from the Terrace floor level, to visualize the first floor walls and make sure the openings are situated correctly. Modify the rectangles position if needed.
- Run the _vaSlabSubtract command
 to subtract the rectangle boundaries from the terrace floor slab.
Back to Index menu
